Friday, June 28, 2013

Slow Progress.


This weekend we've set our eyes on the prize. We're hoping to take out our 2nd floor apartment kitchen and living room to combine the empty spaces into a master bedroom.

Our downstairs is complete as far as wall removal is concerned. Now we're focused on the odds and ends.  Taking our a radiator that is just floating in the middle of the room. Getting new furniture, cleaning, decorating, etc.

Here are some before and afters. The afters aren't really "afters" I guess..more "in progress" pictures.
Anywho, take a peak...


Before: First Floor Bedroom


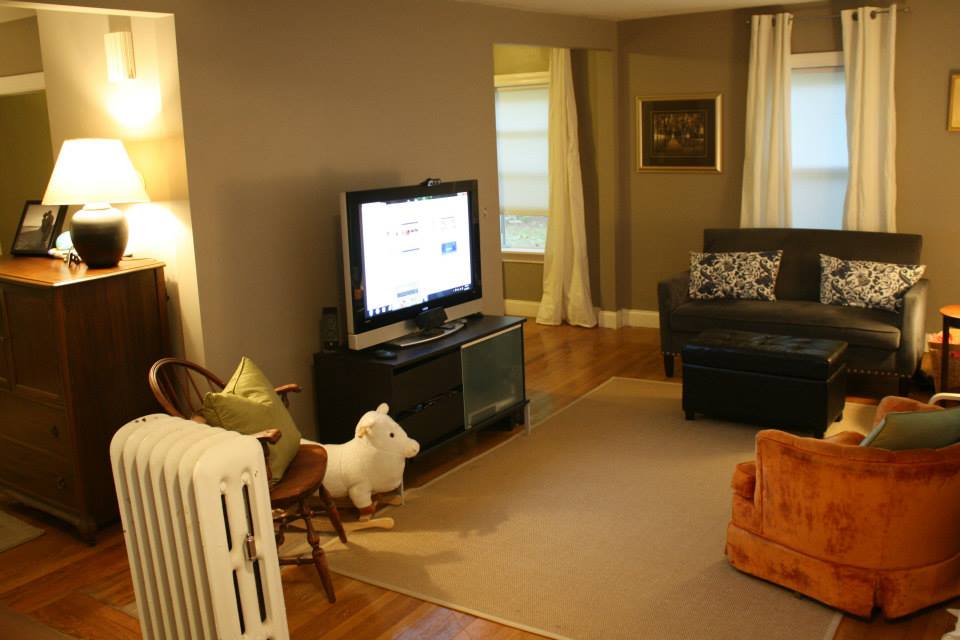
In Progress: New Living Room
 
 
Before: 1st Floor Living Room


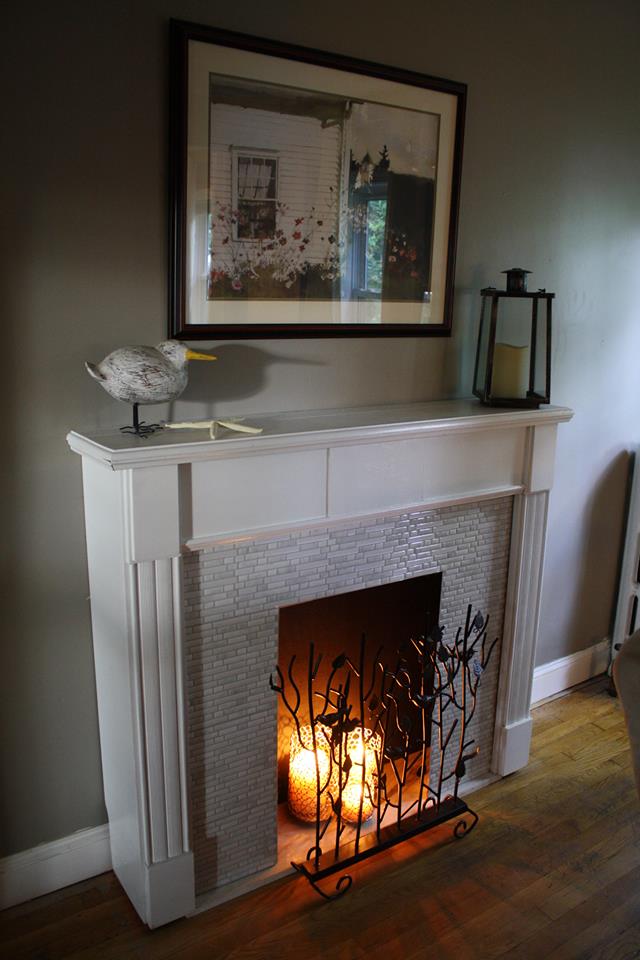
In Progress:  1st Floor Dining Room


With Faux Fireplace:


Before:  1st Floor Dining Room


 In Progress Baby M's playroom


Trying out the new Playroom
 
 
Now on to the 2nd floor!


Wednesday, June 26, 2013

My Faux Fireplace


I still kick myself for having bought a home without a fireplace. Where do you hang your stockings at Christmas time? Where do you put all your photos and seasonal decor? * Slaps forehead*. When we buy our next house- I WILL have a fireplace.

In the meantime- I decide to make my own. It seems to be a popular DIY Trend right now anyway. If you want- take a look at my pinterest board "My Fake Fireplace" for inspiration. http://pinterest.com/eprybs/my-fake-fireplace/

Mine didn't go exactly how I'm planned but I'm very pleased with how it turned out.

I started by searching craigslist and junk stores for a mantle in decent shape. I found one for $75.00 in oak. I sanded it down and put a white semi-gloss paint on it using a foam roller for a smooth finish.


Then I rummaged through my father-in-law's garage to find some plywood and with the help of my FIL, we cut a piece to fit across the back ( the side that goes against the wall) and a piece to fit inside the front. I painted the back piece black to look like the inside of a fireplace- A mirror would also look nice if you wanted to fill it with candles.

To get the tiled look on the front piece, I used STICKERS! YES...STICKERS! I purchased Smart Tiles from my local lowes (this product) in the tile section. All you need is a box cutter and steady hands.


Finally, I found a remnant piece of marble for the base- You can see I need to get it cut a little smaller to actually fit inside the fireplace- I hope to do that soon.

And of course- the final product!


Wednesday, June 5, 2013

This Blog Is Under Construction!

Construction work has started, don't mind the dust please! 


Friday, April 19, 2013

Baby M's First Birthday

We had a wonderful first Birthday Party for Baby M, it really couldn't have gone any better. This first year has been such a special one and as a mom, I've had such mixed emotions about it all. One moment I'm holding my child close and wishing for time to slow down so I can enjoy my baby just a little longer and the next moment I'm cheering her on as she takes her first steps or attempts something new. 
So this is what motherhood is all about.

~~~~~~~

Okay, enough of the mushy stuff, on to the PARTY!


The poster above was made by a friend of mine as a gift for her first birthday. 

Sticking with the Peter Rabbit theme we served BLT sandwiches, berries, veggies and dip,
 and veggie potato chips. 


Our mini-smash cake and carrot cake cupcakes.


The party favors were coloring books and bunny ears.


To keep the little ones occupied, we filled a swimming pool with ball pit balls and brought in a little tunnel from Ikea. The pool was a big hit! Baby M dove right in:


Baby M with her Great Grandmother


And here with daddy:


Helping herself to the guests' food


Little G. jumping in!  


 Cousin practicing her funny faces!


  Happy Birthday Baby M, I can't wait to celebrate
 many more with you my beautiful  little girl!